Quickstart
This walks you from nothing to a public MCP endpoint in about a minute.
-
Install the CLI.
Terminal window curl --proto '=https' --tlsv1.2 -LsSf https://mcppipe.sh | shTerminal window powershell -c "irm https://mcppipe.sh/install.ps1 | iex"Terminal window brew install mcppipe/homebrew-tap/mcppipeOther options — Scoop, MSI — are on the Install page.
-
Create a tunnel in the dashboard.
Sign in, click New tunnel, and optionally type a subdomain (leave it blank for a random name). The preview shows the public host you’ll get:
<subdomain>--<account-slug>.mcppipe.dev.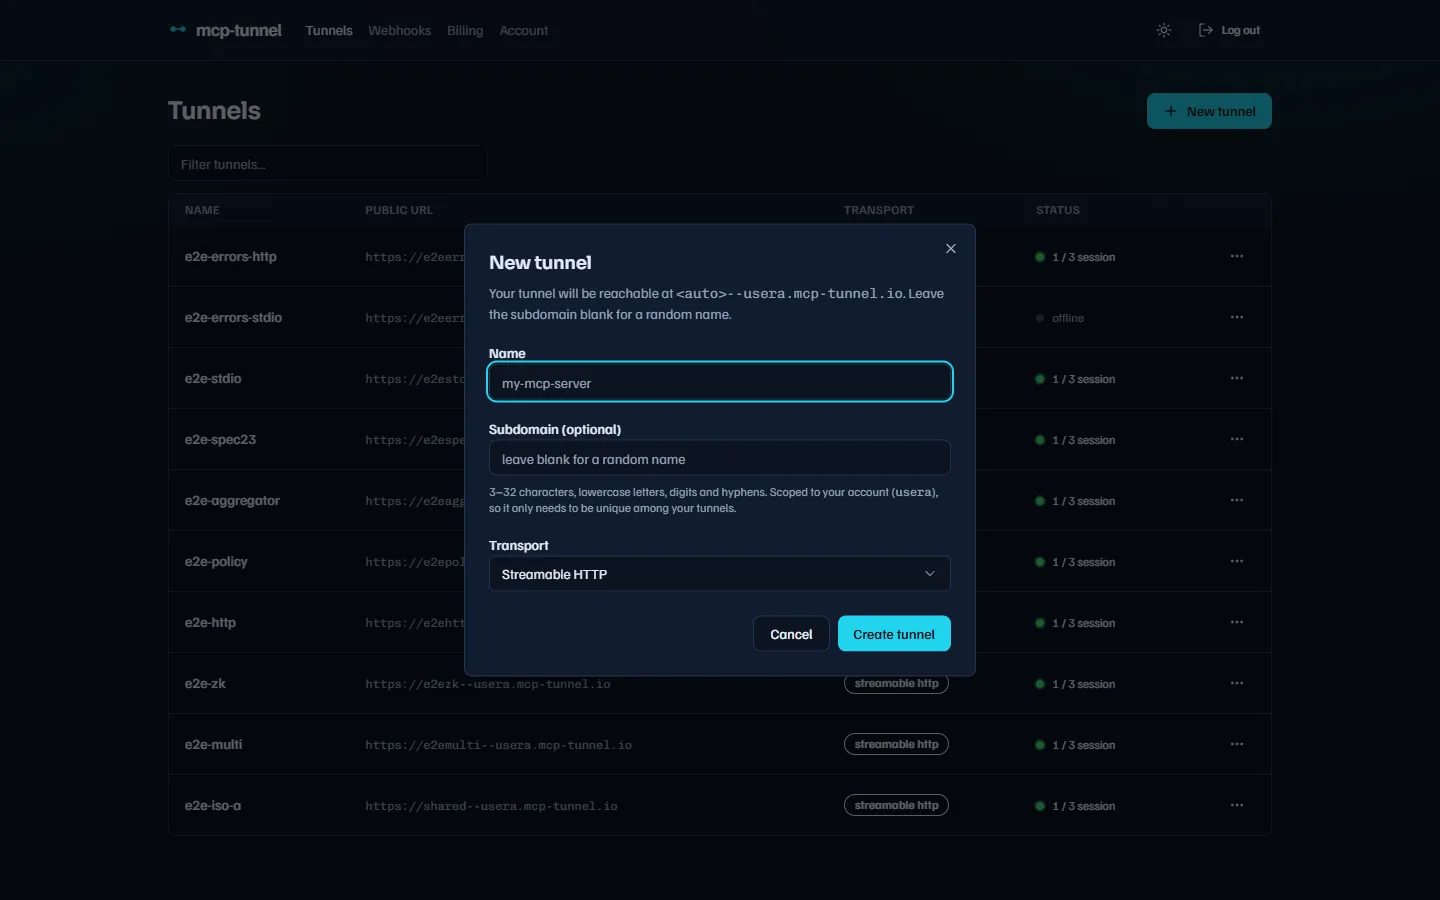 The create dialog previews your public host as you type the subdomain.
On Create tunnel, the dialog reveals a CLI key (
mtk_…) — this is the value you pass to--api-key(orMCPPIPE_API_KEY) in the next step. Copy it now, it is shown only once. If you lose it, rotate the key from the tunnel’s Settings tab (the old key dies immediately).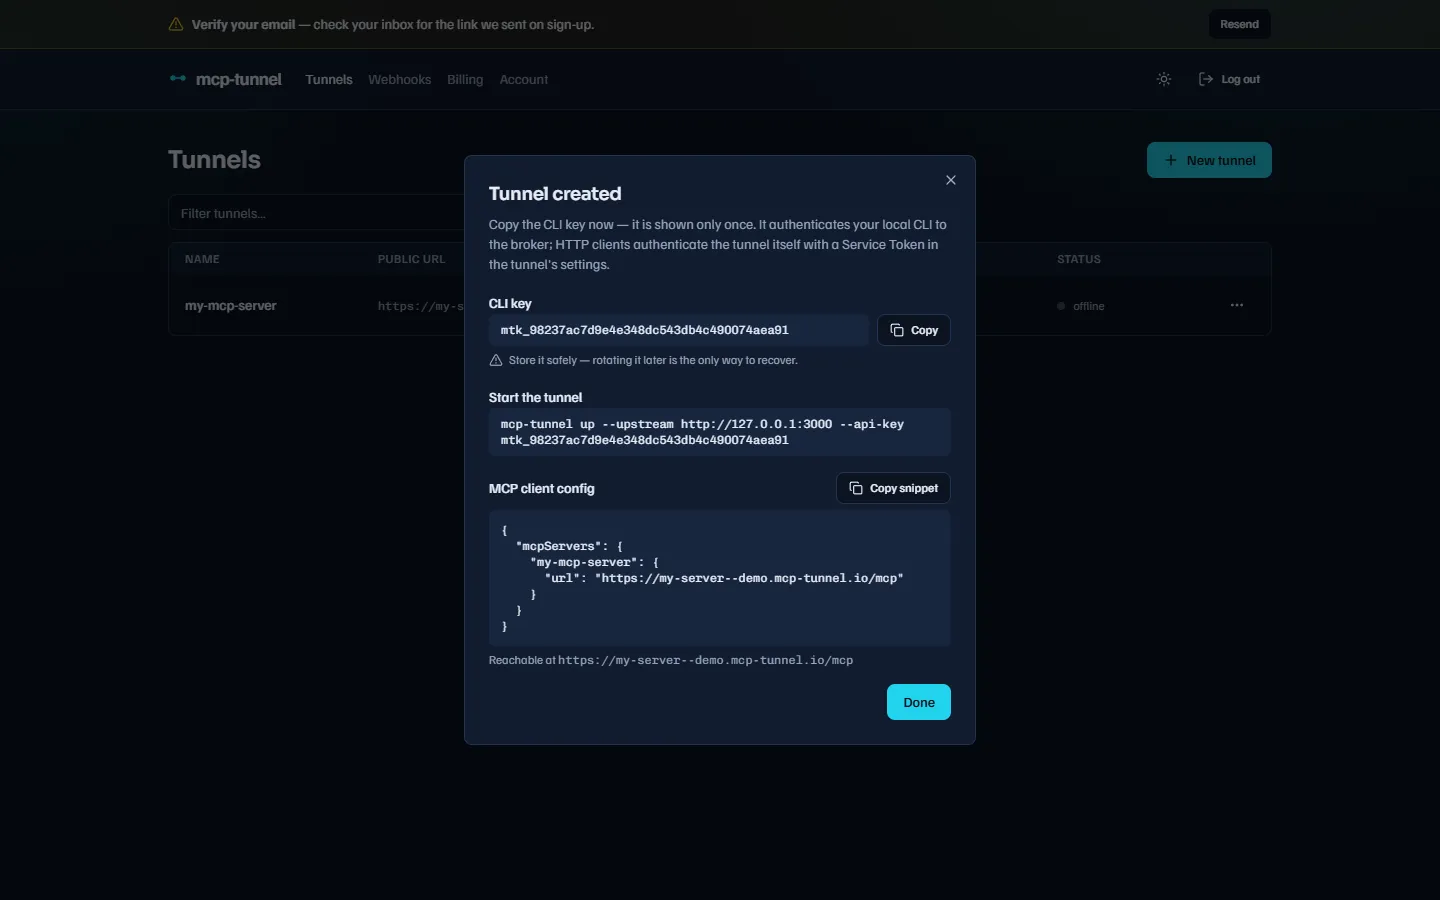 The
The mtk_key is shown once on creation; copy it before closing. -
Start the tunnel. Point the CLI at a local MCP server:
Terminal window mcppipe up --api-key mtk_xxx --upstream http://127.0.0.1:3000Terminal window mcppipe up --api-key mtk_xxx --stdio "npx -y @modelcontextprotocol/server-filesystem ."Terminal window # No --upstream/--stdio: scans Claude Desktop, Cursor, Windsurf,# VS Code, Cline, Continue.dev and Zed, then prompts you to pick one.mcppipe up --api-key mtk_xxx--upstreamand--stdioare mutually exclusive for a single upstream. To put several MCP servers behind one tunnel, repeat them withname=prefixes or use--upstreams-file— see Multi-upstream aggregation.The key can also come from the
MCPPIPE_API_KEYenvironment variable instead of--api-key. The first line the CLI prints is a telemetry notice; pass--no-telemetryto opt out of crash reporting. Full flag list: CLI reference. -
Connect your agent. Once connected, the CLI prints your public URL and a ready-to-paste config snippet:
{"mcpServers": {"mcppipe": {"url": "https://<subdomain>--<account-slug>.mcppipe.dev/mcp"}}}Drop that block into your remote MCP client’s config (Claude, Cursor, Windsurf, Cline all accept it verbatim). VS Code wraps the same entry under
"mcp": { "servers": { ... } }. The endpoint speaks Streamable HTTP at the/mcppath with no interstitial — the client connects directly.
Track your progress
Section titled “Track your progress”A new account shows an onboarding checklist on the dashboard home with two ticks, both derived from live state:
- Create your first tunnel — flips once you have a tunnel.
- Connect the CLI — flips the first time a CLI connects to it.
The banner pre-fills the run command with your real subdomain and auto-hides when both ticks are green. There is no “dismiss” — it mirrors observable state, so it returns if you later delete every tunnel.
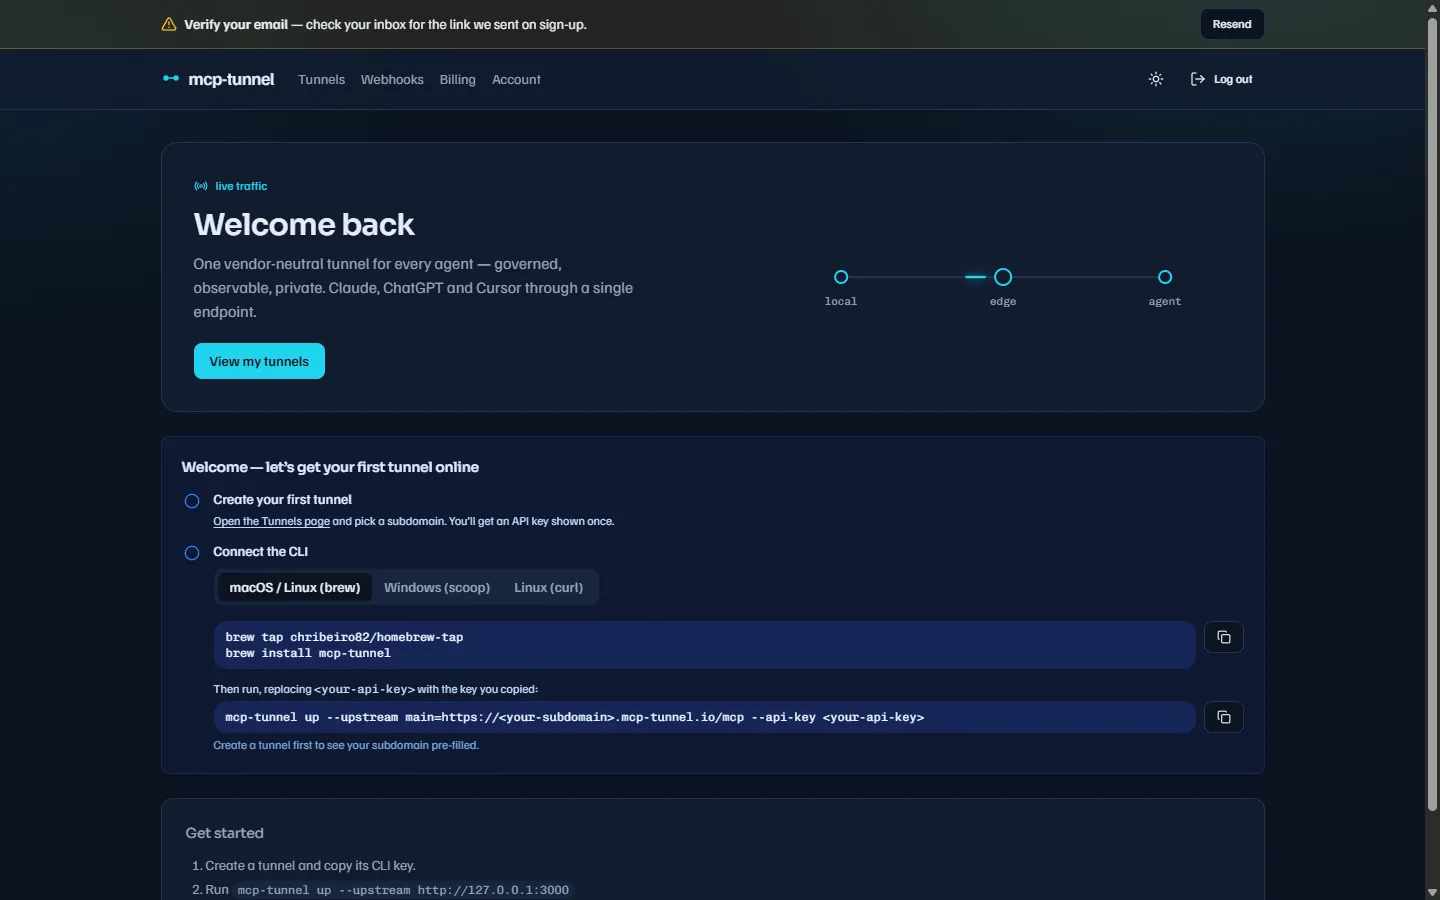 The onboarding banner: it disappears once both steps are done.
What you get
Section titled “What you get”- A stable subdomain — your tunnel is always reachable at
https://<subdomain>--<account-slug>.mcppipe.dev/mcp, and it does not change between runs. The subdomain stays editable in Settings. - Reconnect that does not lose work — if the network blips, the CLI resumes the session and mcppipe replays in-flight requests. See Reliability.
- Live traffic in the dashboard — open the tunnel’s Live tab and watch every JSON-RPC call as it happens; the Inspector tab keeps history. See Live traffic & Inspector.
- Install — every install method and how to upgrade.
- CLI reference — every flag of
upanddetect. - Tool governance — allow/deny policy, rate limits, pinning.
- Authentication: OAuth & Service Tokens — lock a tunnel down.
- Troubleshooting — if something does not connect.